
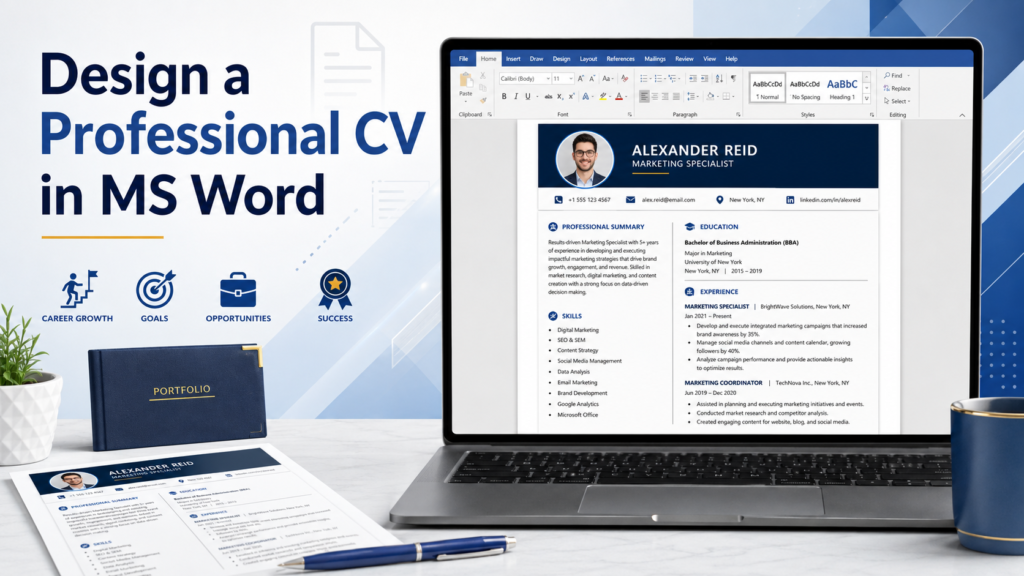
Objective
To create a clear and professional CV using Microsoft Word.
Steps
- Open Microsoft Word and select Blank Document.
- Go to Layout and select:
- Size: A4
- Orientation: Portrait
- Margins: Normal
- Select a professional font such as Arial, Calibri, or Aptos, with size 11 or 12.
- At the top, type your full name in bold, size 18–20, and centre it.
- Below the name, add your:
- Professional title
- Phone number
- Email address
- City
- LinkedIn profile, if available
- Add the heading Career Objective and write a short paragraph about your career goals.
- Add the heading Education. Insert a table containing:
- Qualification
- Institution
- Passing year
- Grade or result
- Add the heading Work Experience. Write the job title, organization, employment period, and important duties using bullets.
- Add the heading Skills and list relevant skills, such as Microsoft Office, communication, teaching, or web development.
- Add other sections if required, such as:
- Certifications
- Projects
- Languages
- Achievements
- References
- Make all headings bold and keep the font, colour, spacing, and alignment consistent.
- Go to Review → Spelling & Grammar and correct any mistakes.
- Save the CV as:
Your_Name_CV.docxYour_Name_CV.pdf
Result
A properly formatted professional CV is created and saved in Microsoft Word and PDF formats.