Computer Science Practical

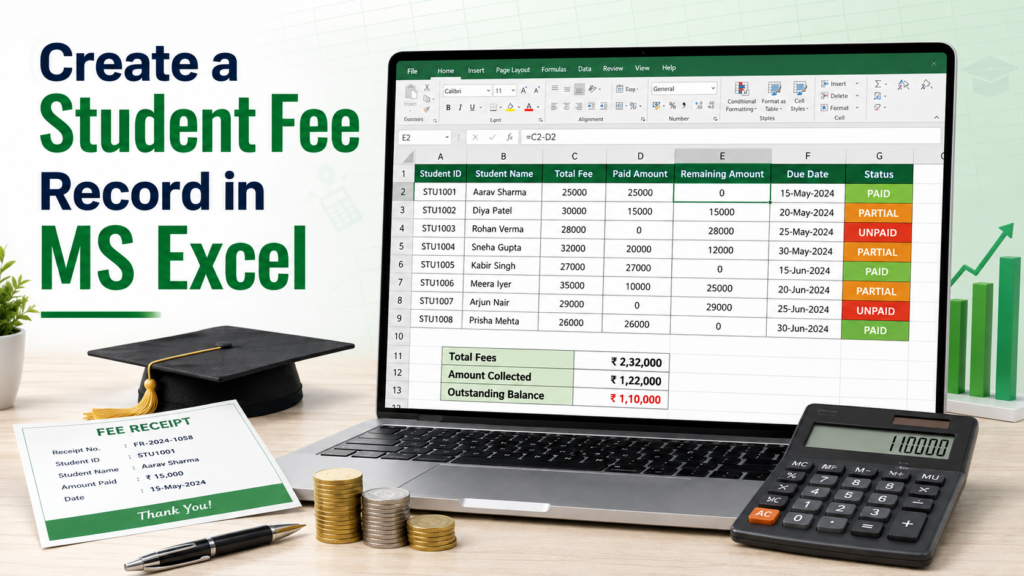
Create a Student Fee Record in MS Excel

Practical: Create a Student Fee Record in MS Excel

Objective

To create a fee record that automatically calculates students’ remaining fees and displays their payment status.

Steps

  1. Open Microsoft Excel and select Blank Workbook.
  2. Merge cells A1:F1 and type STUDENT FEE RECORD. Make it bold and centre-aligned.
  3. In row 3, enter these headings:
ColumnHeading
ARoll No.
BStudent Name
CTotal Fee
DPaid Amount
ERemaining Amount
FFee Status
  1. Enter the students’ roll numbers, names, total fees, and paid amounts from row 4.
  2. In cell E4, calculate the remaining amount:
=C4-D4
  1. In cell F4, display the fee status:
=IF(E4=0,"Paid",IF(D4=0,"Unpaid","Partially Paid"))
  1. Select cells E4:F4 and drag the fill handle downward to apply the formulas to all students.
  2. At the bottom of the record, calculate the totals:
=SUM(C4:C13)

Use the same formula for the Paid Amount and Remaining Amount columns by changing the column letters.

  1. Format the fee columns as currency through Home → Number → Currency.
  2. Apply borders, bold headings, and suitable column widths.
  3. Use Conditional Formatting to display:
  • Paid in green
  • Partially Paid in yellow
  • Unpaid in red
  1. Check all formulas and save the workbook as:

Student_Fee_Record.xlsx

Result

A student fee record is created that automatically displays paid, partially paid, unpaid, and remaining fee information.

Practical: Create a Student Fee Record in MS Excel Read More »
Create an Official College Notice in MS Word.

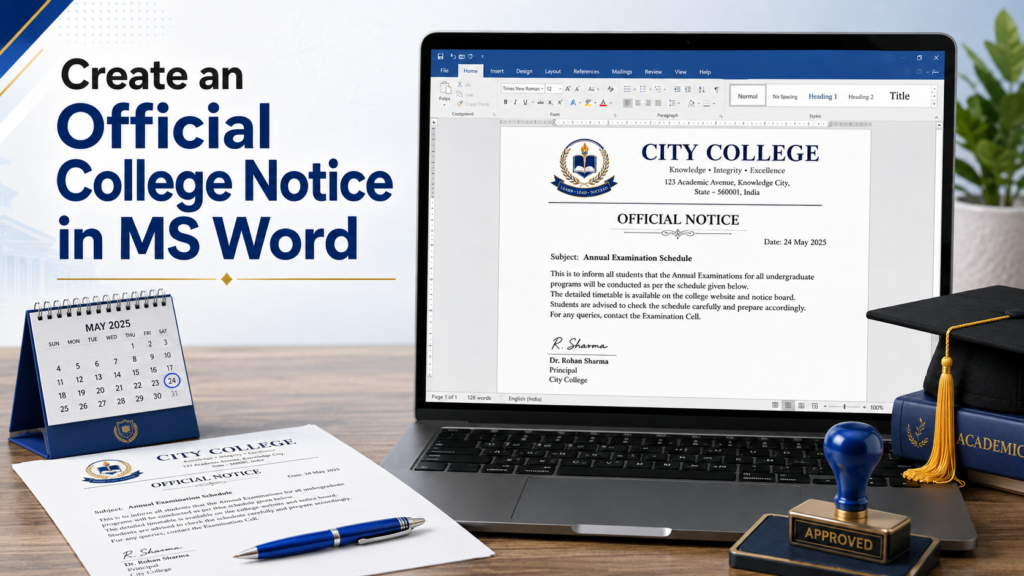
Practical: Create an Official College Notice in MS Word

Objective

To create a properly formatted official notice for communicating important information to college students and staff.

Steps

  1. Open Microsoft Word and select Blank Document.
  2. Go to Layout and select:
    • Size: A4
    • Orientation: Portrait
    • Margins: Normal
  3. At the top of the page, type the college name, address, and contact details. Make the college name bold, larger, and centre-aligned.
  4. Add the college logo through Insert → Pictures, if available.
  5. Below the college information, type NOTICE or CIRCULAR in bold, capital letters, and centre it.
  6. Add the following information:
    • Reference number
    • Date
    • Subject of the notice
  7. Write the notice body in clear and formal language. Mention the purpose, date, time, venue, and necessary instructions.

Example:

All students are informed that a Cyber Safety Awareness Seminar will be held on Monday, 14 September 2026, at 10:00 a.m. in the college auditorium. Students must reach the venue by 9:45 a.m. Attendance is compulsory.

  1. Add a closing instruction if required, such as: For further information, contact the Department of Computer Science.
  2. At the bottom, add:
    • Signature line
    • Name of issuing authority
    • Designation, such as Principal or Head of Department
  3. Add a Copy to section if the notice must be sent to different departments.
  4. Use a professional font such as Times New Roman, Arial, or Calibri, with size 11 or 12.
  5. Make the college name, notice title, and subject bold. Keep the remaining text properly aligned.
  6. Go to Review → Spelling & Grammar and correct any mistakes.
  7. Check the document through File → Print Preview.
  8. Save the notice as:
  • College_Notice.docx
  • College_Notice.pdf

Result

A properly formatted official college notice or circular is created successfully in Microsoft Word.

Practical: Create an Official College Notice in MS Word Read More »

Design a Cyber Safety Awareness Presentation.

Practical: Design a Cyber Safety Awareness Presentation

Objective

To create an informative PowerPoint presentation that explains online dangers and ways to remain safe on the internet.

Steps

  1. Open Microsoft PowerPoint and select Blank Presentation.
  2. Go to the Design tab and select a simple professional theme.
  3. Create the title slide containing:
    • Title: Cyber Safety Awareness
    • Subtitle: Stay Alert, Stay Secure Online
    • Student’s name and class
  4. Create a slide titled What Is Cyber Safety? Add a short definition of safe and responsible internet use.
  5. Create a slide titled Common Online Dangers and include:
    • Cyberbullying
    • Online scams
    • Phishing messages
    • Malware and viruses
    • Unknown online strangers
  6. Create a slide titled Create Strong Passwords and add these tips:
    • Use letters, numbers, and symbols.
    • Do not share passwords.
    • Use different passwords for different accounts.
    • Enable two-factor authentication.
  7. Create a slide titled Use Social Media Safely and explain that users should keep accounts private, avoid sharing personal information, and accept requests only from known people.
  8. Create a slide titled How to Handle Online Problems and include:
    • Do not reply to suspicious messages.
    • Block and report the person.
    • Save screenshots as evidence.
    • Tell a parent, teacher, or trusted person.
    • Change the account password.
  9. Create a final slide containing the message: Think Before You Click—Stay Safe Online!
  10. Add suitable pictures or icons through Insert → Pictures or Insert → Icons.
  11. Use SmartArt, shapes, or bullet points to present the information clearly.
  12. Apply one simple transition from Transitions, such as Fade, to all slides.
  13. Add limited animations to important headings or pictures. Avoid excessive effects.
  14. Run the presentation through Slide Show → From Beginning and check every slide.
  15. Save the presentation as:

Cyber_Safety_Awareness.pptx

Result

An informative and attractive cyber safety awareness presentation is created successfully in Microsoft PowerPoint.

Practical: Design a Cyber Safety Awareness Presentation Read More »

Create an Interactive Multiple-Choice Quiz in PowerPoint.

Practical: Create an Interactive Multiple-Choice Quiz in PowerPoint

Objective

To create a multiple-choice quiz in which answer options, action buttons, and hyperlinks move the user between question and feedback slides.

Steps

  1. Open Microsoft PowerPoint and select Blank Presentation.
  2. On the first slide, type the quiz title, such as Computer Knowledge Quiz.
  3. Insert a Start Quiz button:
    • Go to Insert → Shapes.
    • Draw a button shape.
    • Type Start Quiz inside it.
  4. Create the first question slide. Type one question and four options, for example: Which device is used to type text?
    • A. Monitor
    • B. Keyboard
    • C. Printer
    • D. Speaker
  5. Place every answer option inside a separate shape.
  6. Create two feedback slides:
    • Correct Answer!
    • Wrong Answer—Try Again
  7. Link the correct option to the correct-answer slide:
    • Select the correct option.
    • Go to Insert → Action.
    • Select Hyperlink to → Slide.
    • Choose the Correct Answer slide.
    • Click OK.
  8. Link the three incorrect options to the Wrong Answer slide using the same method.
  9. On the wrong-answer slide, insert a Try Again action button and link it back to the question slide.
  10. On the correct-answer slide, insert a Next Question button and link it to the next question slide.
  11. Link the Start Quiz button on the title slide to the first question slide.
  12. Create more questions by duplicating the question and feedback slides. Change the questions, answers, and hyperlinks carefully.
  13. Create a final slide containing the message:

Quiz Completed—Well Done!

  1. Add Home, Next, or Exit action buttons where required.
  2. Go to Slide Show → From Beginning and test every answer and button. Hyperlinks work during the slide show.
  3. Save the presentation as:

Interactive_MCQs_Quiz.pptx

Result

An interactive multiple-choice quiz is created in PowerPoint using hyperlinks and action buttons.

Practical: Create an Interactive Multiple-Choice Quiz in PowerPoint Read More »

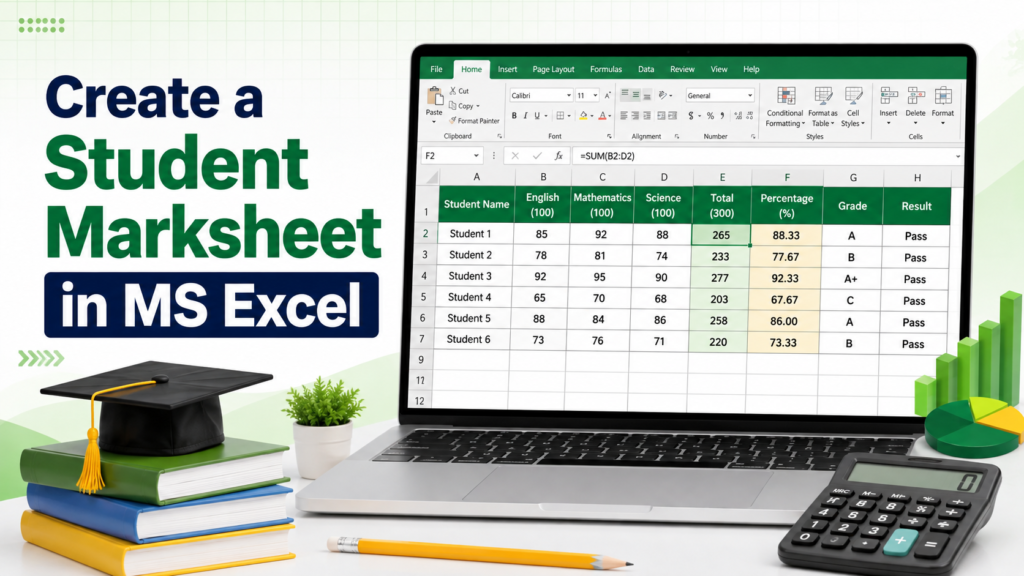
Create a Student Marksheet in MS Excel

Practical: Create a Student Marksheet in MS Excel

Objective

To create a marksheet that automatically calculates total marks, percentage, grade, and pass/fail result.

Steps

  1. Open Microsoft Excel and select Blank Workbook.
  2. Merge cells A1:K1, type STUDENT MARKSHEET, and make it bold and centred.
  3. In row 3, enter these headings:
ColumnHeading
ARoll No.
BStudent Name
CEnglish
DMathematics
EScience
FComputer
GUrdu
HTotal
IPercentage
JGrade
KResult
  1. Enter students’ names and marks from row 4. Assume every subject carries 100 marks, so the total is 500.
  2. In cell H4, calculate total marks:
=SUM(C4:G4)
  1. In cell I4, calculate the percentage:
=H4/500*100
  1. In cell J4, calculate the grade:
=IF(I4>=80,"A+",IF(I4>=70,"A",IF(I4>=60,"B",IF(I4>=50,"C",IF(I4>=40,"D","F")))))
  1. In cell K4, calculate the result. A student must obtain at least 40 marks in every subject:
=IF(MIN(C4:G4)>=40,"Pass","Fail")
  1. Select cells H4:K4 and drag the fill handle downward to apply the formulas to all students.
  2. Format the marksheet:
  • Make headings bold.
  • Apply borders to the table.
  • Centre the marks and results.
  • Show the percentage with two decimal places.
  • Use green for Pass and red for Fail.
  1. Check the formulas and save the workbook as:

Student_Marksheet.xlsx

Result

A student marksheet is created that automatically displays total marks, percentage, grade, and pass/fail result.

Practical: Create a Student Marksheet in MS Excel Read More »

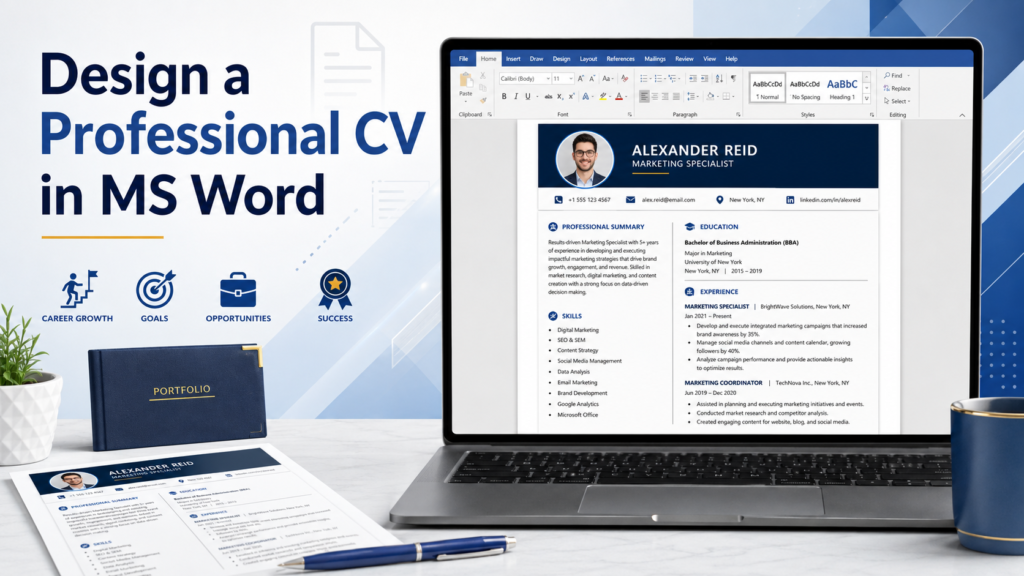
Practical: Design a Professional CV in MS Word

Objective

To create a clear and professional CV using Microsoft Word.

Steps

  1. Open Microsoft Word and select Blank Document.
  2. Go to Layout and select:
    • Size: A4
    • Orientation: Portrait
    • Margins: Normal
  3. Select a professional font such as Arial, Calibri, or Aptos, with size 11 or 12.
  4. At the top, type your full name in bold, size 18–20, and centre it.
  5. Below the name, add your:
    • Professional title
    • Phone number
    • Email address
    • City
    • LinkedIn profile, if available
  6. Add the heading Career Objective and write a short paragraph about your career goals.
  7. Add the heading Education. Insert a table containing:
    • Qualification
    • Institution
    • Passing year
    • Grade or result
  8. Add the heading Work Experience. Write the job title, organization, employment period, and important duties using bullets.
  9. Add the heading Skills and list relevant skills, such as Microsoft Office, communication, teaching, or web development.
  10. Add other sections if required, such as:
  • Certifications
  • Projects
  • Languages
  • Achievements
  • References
  1. Make all headings bold and keep the font, colour, spacing, and alignment consistent.
  2. Go to Review → Spelling & Grammar and correct any mistakes.
  3. Save the CV as:
  • Your_Name_CV.docx
  • Your_Name_CV.pdf

Result

A properly formatted professional CV is created and saved in Microsoft Word and PDF formats.

Practical: Design a Professional CV in MS Word Read More »

Scroll to Top